Student Financial Planning (SFP)

Welcome to Your New Financial Aid Portal: Student Financial Planning (SFP)

We're excited to introduce you to Student Financial Planning (SFP), a smarter, simpler, and more accessible way to secure the funding you need for your education. This modern portal is fully optimized for viewing and managing your aid on any device, whether you're using a phone, tablet, or laptop!

Navigating Your Financial Aid Systems: SIS vs. SFP
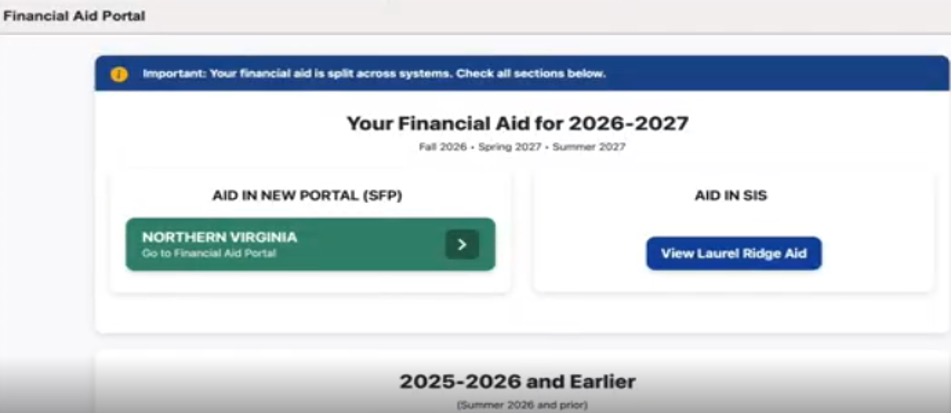
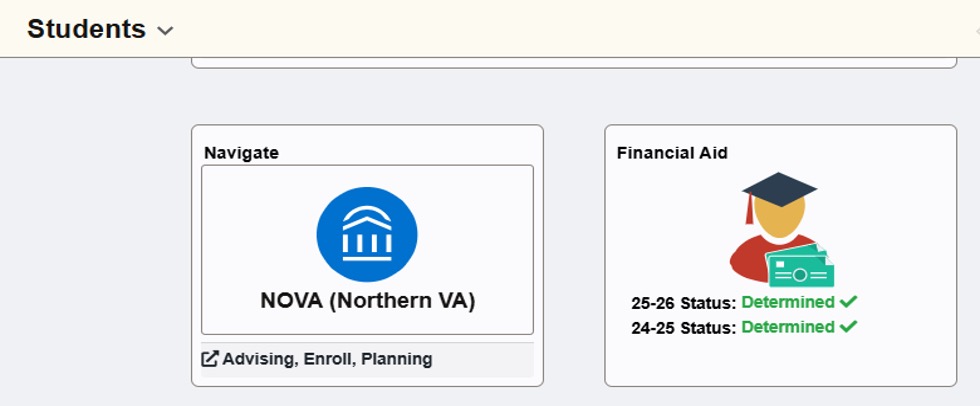
As we transition to the new SFP system, you will need to use both your existing Student Information System (SIS) and the new SFP portal depending on the task and the academic year.

Use the guide below to know exactly where to go for what information:

Task / Information Continue to Use SIS Start Using SFP
View Aid Eligibility for 2025-2026 Academic Year & Prior SIS Financial Aid Tile - Use this to manage and review financial aid eligibility through the Summer 2026 term. N/A
View Aid Eligibility for 2026-2027 Academic Year & Later SIS Tile - Continue to use this to view messages in the Message Center from the Financial Aid Office. SFP Portal - Use this to manage and review financial aid eligibility for the Fall 2026 term and beyond.
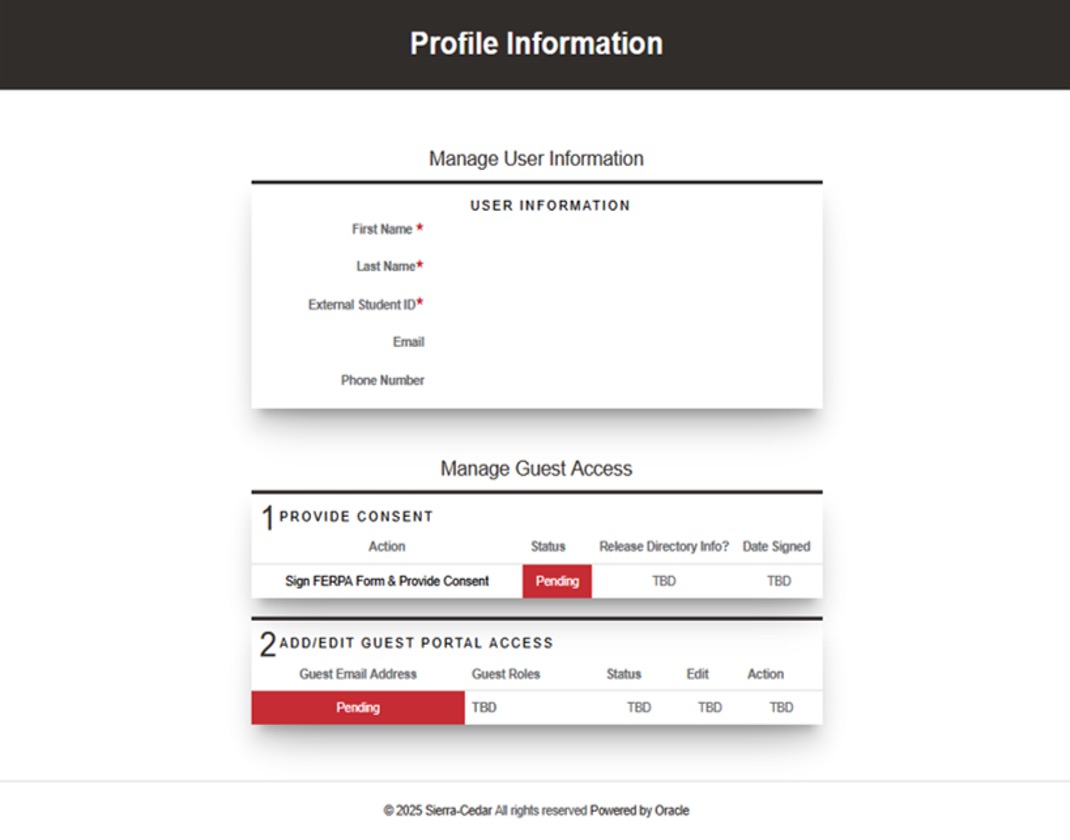
Profile Management Profile, Action Items, and Messages N/A
Payments & Enrollment Tuition & Payments, Class Enrollment N/A
Academic Records Navigate, Academic Records & Progress N/A

Tutorials

Click here for the video tutorial

  1. Log into your institution’s student information system sign on screens
    login screens
  2. Select SIS tile and then the “Financial Aid” tile on your student home page
    sis financial aid tile
  3. Select the school that you are associated with to view the academic years
  4. Select the appropriate academic year
  5. Select “Financial Aid – SFP”
  6. A new window will open in your browser
    required actions
    1. Please note, you may get a message like the one below if your pop-up blocker is on. If you get this message simply click the “Redirecting” for the next page to appear.
  7. Enter your login information for the institution again to securely access the student financial planning system via single sign on
    1. Single sign on screen
    2. SFP screen
      sfp screen
  8. To view your aid, submit documents, or complete other tasks via My Financial Aid, the first time you access My Financial Aid, you will be prompted to consent to conduct business electronically.

  • From the My Financial Aid home page, click the Documents tab at the top to submit a document. Only the owner can upload the requested document. If your parent or a guest is the owner, they will be able to complete the tasks once they are granted access.
  • On the Documents page, any Documents requiring attention will be listed, and a Submit Document button will appear next to each. All requested documents will be listed under Documents Requiring Attention.
  • Previously submitted documents will appear in the Document History at the bottom of the page. If a previously submitted document needs to be edited or resubmitted, click the Update Document button and follow the steps to re-upload.
  • Important Note : If the Owner and Award Year fields are grayed out, then the first step will be to CHOOSE A FILE.

Click here for the video tutorial

  1. Log into SFP using the school’s Financial Aid tile
  2. Once logged into SFP, select the items on the home page that indicate Pending
    1. In this instance it is to submit required documentation
    2. The student could also select “Documents” in the header section as it is the notification icon next to it
      required actions
  3. Review the required documents. From here the student can select the icon under “submit document” and they can also select “upload a non-requested document” if there is additional information they need to provide to their institution
    documents screen
  4. The student can select to upload a document
    1. If they are completing a first submission, they will select “Choose a file”
      document upload
    2. If they are resubmitting a document they can select to replace a document or add an additional file.
      additional document screen
  5. Once the student uploads a file, they’ll see the name of the document listed in addition to a preview of the document that they uploaded. If there is metadata entry required for their document, they can also complete those fields upon upload.
    non requested document
  6. Once the student has uploaded documents and completed all required metadata fields, they can enter any relevant comments and select upload.
    additional comments

  1. Log into your institution’s student information system sign-on screens
    login screens
  2. Select SIS tile and then the “Financial Aid” tile on your student home page
    sis financial aid tile
  3. Select “Financial Aid – SFP”
  4. A new window will open in your browser
    1. Please note, you may get a message like the one below if your pop-up blocker is on. If you get this message simply click the “Redirecting” for the next page to appear. required actions
  5. To see your award information, navigate to the "Financial" page.
    financial-tab.jpg
  6. In section three of the Financial page, your estimated aid disbursement dates are listed. Note that the dates shown below reflect the beginning date of each term (Fall and Winter/Spring), not NOVA’s estimated disbursement dates.
    summary.jpg
  7. In the example below, the student is expected to progress from a Freshman to a Sophomore between Fall and Spring, so they are receiving the Freshman loan amount in the Fall term and the Sophomore loan amount in the Spring term.
    loan-review.jpg

In order for your parent, guardian, or someone else to access your My Financial Aid information, you will first need to grant them guest access to view your information.

Click here for the YouTube video

  1. Log into SFP using the school’s Financial Aid Planning tile.
  2. From the home page, select the drop-down box in the upper right corner to display their ‘ Profile Information.’ Click on ‘ Profile’ to have the following page display:
  3. Scroll down to see your User Information as well as the information necessary to complete Proxy/Guest Access.
  4. Click on ‘ Sign FERPA Form & Provide Consent’ to open the FERPA form.
  5. The FERPA form will be displayed:
  6. Select an option (see pink box below).
  7. Scroll down to select I Accept, then sign, and click Sign and Finish.
  8. Once FERPA is completed and accepted, Step 1 Provide Consent will designate ‘Completed’ and the icon to add a guest will appear (picture of a person with a plus sign).
  9. Click on the ‘Add a person’ icon to make the Add/Edit Proxy Portal Access email link open:
  10. Enter the guest’s email address that has permission to access the student’s information in SFP. Select Default Proxy or Guest. Click the ‘Save’ button under Edit. This will enable the guest’s access.
  11. If you would like to add multiple guests, repeat steps 9 & 10.
  12. Your guest will receive an email in which they will need to follow the instructions to create their account. Once the guest logs in, they will need to accept the Consent to Conduct Business Electronically. They can now access My Financial Aid to perform any tasks needed.

The notifications and messages tab highlights additional action items and/or communications that need your immediate attention to continue processing your Financial Aid.

  1. Log into SFP using the school’s Financial Aid Planning tile.
  2. Navigate to the appropriate tab for the student to review their outstanding tasks
  3. To review any notifications select “Notifications”, for example: You are required to complete entrance counseling
  4. To review messages, select “Messages

  1. Log into your institution’s student information system sign-on screens
    login screens
  2. Select SIS tile and then the “ Financial Aid” tile on your student home page
    sis financial aid tile
  3. Select “ Financial Aid – SFP
  4. A new window will open in your browser
    1. Please note, you may get a message like the one below if your pop-up blocker is on. If you get this message simply click the “Redirecting” for the next page to appear. required actions
  5. To see your award information, navigate to the " Financial" page.
    financial-tab.jpg
  6. Select the appropriate aid year at the top of the page to view.
    aid year screen
  7. In section one of the Financial page, your Cost of Attendance will be listed and broken down into Direct and Indirect costs
    a. Direct: an estimate of costs that may be paid directly to the institution
    b. Indirect: an estimate of costs that may be paid directly other costs that you may incur during the academic year
    summary.jpg
  8. In section two of the Financial page, you will say the aid you were offered for the academic year
    summary.jpg
  9. In section three of the Financial page, your aid disbursement dates are listed. In this section, you can see the expected aid for each disbursement date
    summary.jpg

  1. Log into your institution’s student information system sign-on screens
    login screens
  2. Select SIS tile and then the “ Financial Aid” tile on your student home page
    sis financial aid tile
  3. Select “ Financial Aid – SFP
  4. A new window will open in your browser
    1. Please note, you may get a message like the one below if your pop-up blocker is on. If you get this message simply click the “Redirecting” for the next page to appear. required actions
  5. To see your award information, navigate to the " Financial" page.
    financial-tab.jpg
  6. Select the appropriate aid year at the top of the page to view.
    aid year
  7. In section two of the Financial page, you can take action on the aid you’ve been offered
    a. Please note, you only need to take action on aid that is a federal loan
    b. If you do not take action on a loan to accept it, the fund will not be disbursed
  8. Select which terms you’d like to take action on for your loan by selecting the checkbox next to the term, then select “Take Action on Loans”
  9. Select the action you’d like to take on your loan and then click “Save”
  10. Review the changes made to your student loans
  11. Complete your electronic signature to accept the changes made above by entering your student ID and last name before selecting “I Accept” and finally “Sign & Finish